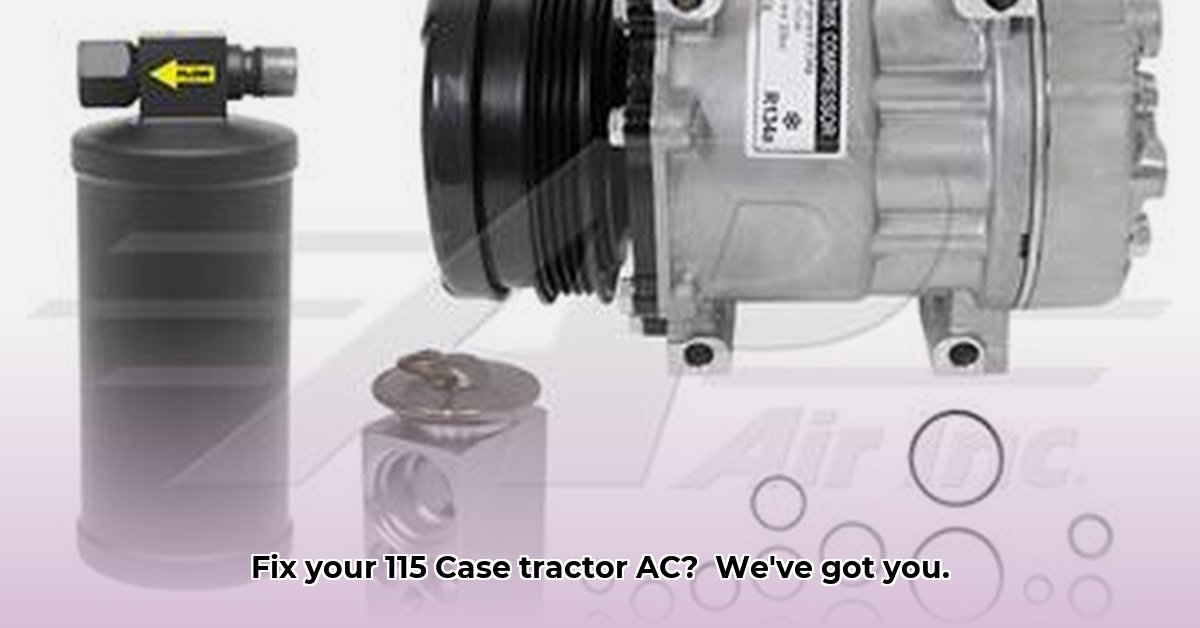
Maintaining a comfortable cab temperature in your Case 115 tractor is crucial for productivity and well-being, especially during demanding fieldwork. Effective AC depends heavily on a properly functioning AC pump. This guide provides a comprehensive, step-by-step approach to troubleshooting, repair, and preventative maintenance for your 115 Case tractor's AC pump. We’ll cover identifying the pump, diagnosing common issues, and safely replacing the unit while adhering to all relevant safety regulations.
Locating Your 115 Case Tractor's AC Pump
Before any troubleshooting begins, you must locate the AC pump. It's typically positioned near the front of the engine, often nestled amongst the drive belts. However, the precise location varies slightly across different 115 Case tractor models. Consult your tractor's owner's manual for model-specific diagrams and instructions. Online resources, such as agricultural equipment forums and image databases, can be helpful if your manual is unavailable. Consider taking pictures of your engine bay for future reference.
Diagnosing Common AC Pump Problems
A malfunctioning AC pump exhibits several telltale signs. The most obvious is a lack of cool air, but other clues can point to impending problems:
Whining Noises: A persistent high-pitched whine indicates worn bearings within the pump, a clear sign that attention is needed soon.
Leaks: Oil leaks around the pump indicate a compromised seal, requiring immediate attention to prevent further damage and refrigerant loss.
Inconsistent Cooling: Intermittent cooling suggests various potential issues, including low refrigerant, electrical problems, or a partially failing pump.
Regular inspection is key to preventing minor problems from evolving into costly repairs.
Troubleshooting Your 115 Case Tractor AC Pump: A Step-by-Step Approach
Before resorting to pump replacement, attempt these troubleshooting steps:
Belt Check: Examine the drive belt(s) connecting to the AC pump for wear, looseness, or slippage. Simple tightening or replacement might restore functionality.
Visual Inspection: Carefully inspect the pump for visible damage, cracks, or leaks. While the engine is running (observing all safety precautions), listen for unusual sounds.
Refrigerant Level Check: A low refrigerant level frequently causes poor cooling. However, checking and recharging refrigerant necessitates specialized tools and safety knowledge. Improper handling can be dangerous. This step is best left to a qualified mechanic.
Electrical System Check: If the compressor isn't engaging, a problem in the electrical system might exist. Look for damaged fuses, loose wire connections, or short circuits. Use a multimeter to test the electrical circuit if necessary.
Replacing the 115 Case Tractor AC Pump: A Detailed, Illustrated Guide
If troubleshooting fails, replacing the AC pump might be required. Although possible for mechanically inclined individuals, this is a complex process and is often best left to a qualified mechanic familiar with agricultural equipment.
Safety First: Always disconnect the negative battery terminal before working on any electrical components. Wear safety glasses and appropriate work gloves.
Refrigerant Evacuation: Crucially, a qualified technician must safely evacuate and recycle the refrigerant. Improper handling violates environmental regulations and poses significant health risks. This process often requires specialized equipment.
Pump Removal: Carefully disconnect hoses, remove mounting bolts, and detach the old pump. Document the process with photographs for reassembly.
New Pump Installation: Carefully install the new pump ensuring proper alignment and secure mounting.
Hose Reconnection: Pay close attention to the correct routing and secure connection of all hoses to prevent leaks and ensure optimal AC performance.
Refrigerant Recharge: Only a qualified technician should recharge the system with the correct refrigerant type and quantity using specialized equipment.
System Testing: After reassembly, thoroughly test the AC system to confirm it functions correctly.
Warning: Using non-OEM parts might void warranties.
Sourcing Replacement Pumps: OEM vs. Aftermarket
Choosing between OEM (Original Equipment Manufacturer) and aftermarket parts involves a trade off between cost and potential risks:
| Feature | OEM | Aftermarket |
|---|---|---|
| Cost | Higher | Lower |
| Warranty | Typically longer, more comprehensive | Often shorter, more restricted |
| Quality | Generally higher, but not guaranteed | Variable; ensure reputable supplier |
| Availability | May be limited in certain locations | Usually widely obtainable from various sources |
Choosing a reputable supplier is essential regardless of your choice.
Preventative Maintenance for Extended Pump Lifespan
Regular maintenance significantly extends the life of your AC pump. Regular checks should include inspecting belts for wear and tear, visually inspecting hoses for cracks or damage, and confirming the secure connections. Address any minor problems before they significantly impact performance.
Safety Precautions and Regulatory Compliance
Refrigerants are hazardous materials. Always adhere to safety guidelines when handling them and ensure proper disposal according to local, state, and national regulations. Incorrect handling is both dangerous and illegal. Familiarize yourself with regulations such as California's Proposition 65, which addresses potential health hazards associated with certain chemicals.
This comprehensive guide provides a structured approach to maintaining your 115 Case tractor's AC system. Remember, for complex repairs or when uncertain about any steps, consult a qualified mechanic. Their expertise ensures safe and efficient repairs. Don't underestimate the importance of a properly functioning AC system; it directly impacts your comfort and productivity.